Photo Gallery - Relay for Life
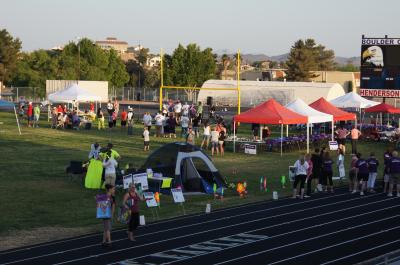
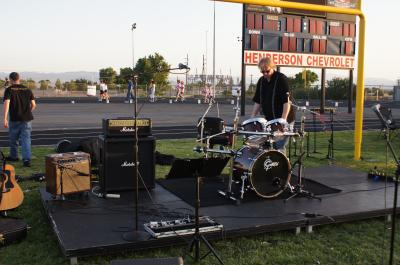
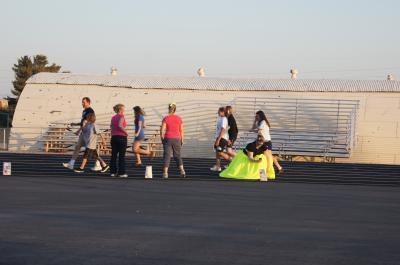
Relay for Life 2011
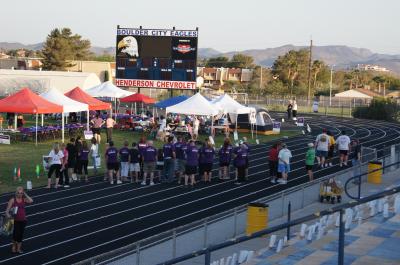
Relay for Life 2011

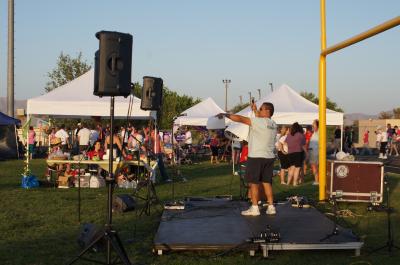
Relay for Life 2011

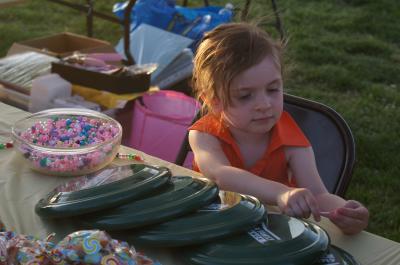
Relay for Life 2011

Relay for Life 2011

Relay for Life 2011

Relay for Life 2011

Relay for Life 2011

Relay for Life 2011

Relay for Life 2011
Relay for Life 2011

Relay for Life 2011

Relay for Life 2011

Relay for Life 2011

Relay for Life 2011

Relay for Life 2011

Relay for Life 2011

Relay for Life 2011

Relay for Life 2011

Relay for Life 2011

Relay for Life 2011
Relay for Life 2011
Relay for Life 2011
Relay for Life 2011

Relay for Life 2011

Relay for Life 2011

Relay for Life 2011

Relay for Life 2011